Following on from our neckband tutorial, we thought it’d be useful to make a cuffs tutorial too.
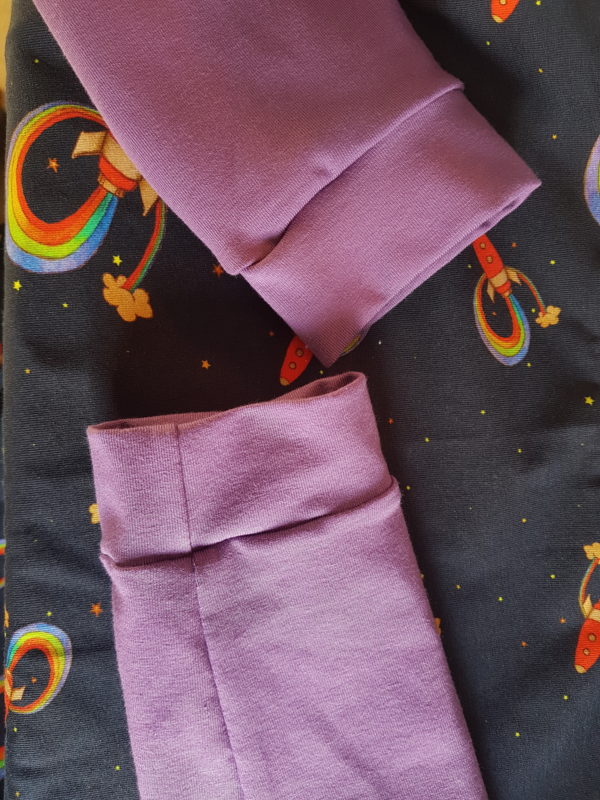
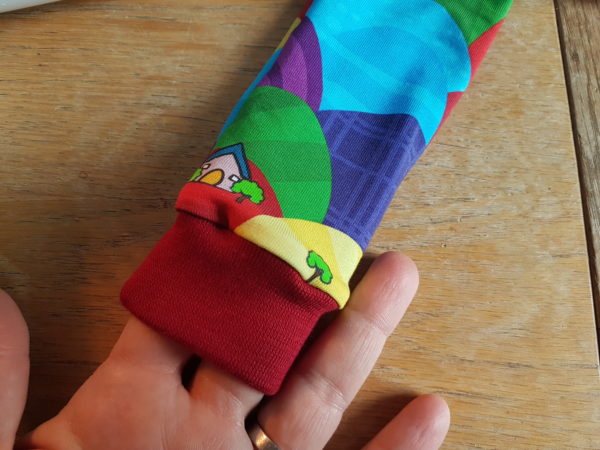
We have 2 examples here, one is made with jersey and on a relaxed cuff, the other on a teeny baby cuff with ribbing as some people find that easier.

Many people find cuffs a better alternative to hemming as it can be easier and give a neater finish without having to struggle with hemming.
Purple Jersey was used with our Rainbow Rockets for these pjs and our Rainbow Hills with Red Ribbing for the baby garment.
You can either use Cotton Jersey or Ribbing for the cuffs, both have excellent stretch and return which is key when creating cuffs.
Caboodle recommends ribbing for beginners as it’s a lot more forgiving and you will find it easier to get the finish you want.
Remember, if you buy four items, so for example four half meters of any ribbing, or more, you’ll start to get multi buy discount, the more you buy, the cheaper it gets.
Cut your cuff to the dimensions it says in your pattern. If using our ribbing then you need to ensure that the stretch is across the pattern piece. This will enable the cuff to stretch over the hand of foot. If you get it the wrong way around then it wont expand to go over the wearer.
With jersey this direction is less important as it is usually 4 way stretch. What you are looking for is the room for the cuff to expand.
Here is how to check your ribbing is cut the right way:
When your Caboodle Textiles ribbing arrives it will come as a tube. The outside will be a relatively smooth surface while the inside will have clearly visible lines running across the width.
Keep your ribbing in front of you with the tube running up and down. You can see on this image below how different types of ribbing cuts will look on the tubular rib. Your pattern may come with pattern pieces or require you to measure the size of cuff required. All of these items are shown folded as they would be cut on the fold. The tubular ribbing enables you to position your pattern piece at the fold and cut double width at once.
When you have your ribbing cut and folded right sides together you will be able to see the lines running across the width of the cuff.
You can check this by stretching it before sewing at the side.
Sometimes your cut cuff piece unfolded is almost a square. This means when you fold it to sew you may accidentally fold it incorrectly. If the lines run downwards in the same direction as you about to sew then you have folded it the wrong way. Unfold it and re do. This is easier to do before you’ve sewn it!
If you have cut your cuffs from jersey then they may not already be double folded so you’ll need to check you fold them with the correct sides together.
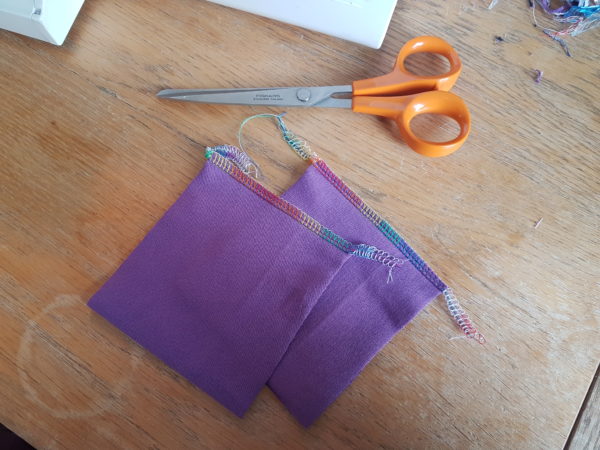
Once you have your pieces cut take one piece at a time. Lay your piece in front of you right side up. Then take the left edge and fold it over to meet the right edge. This means you should now have the correct side of the fabric hidden.
Now sew together in a ring with right sides facing.
Once the cuff is in a ring, open it out and fold it wrong sides together in half, so you’ve got a ring, that’s now half thickness. You’ve basically reduced the height of your cuff and hidden the seam you’ve just sewn. You now have the correct side of the fabric on show.
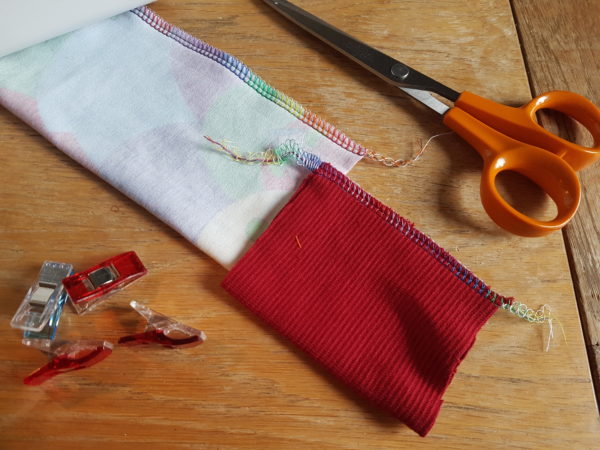
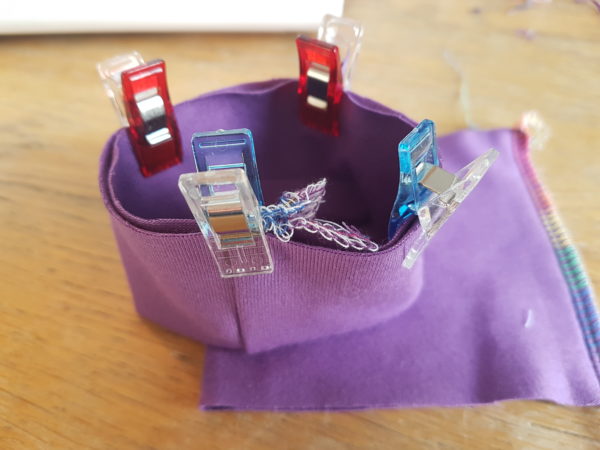
Now you’re going to divide your cuff into four equal parts. We use wonder clips to do this as they’re easier to control than pins and you don’t end up poking yourself a hundred times!
Pop a clip at the seam, then fold in half and pop a clip exactly opposite. Then bring the clips together so they’re touching each other than at each end put another clip. Make sure the clips are on the raw edges – you can press if you want to add a bit more security.
Next you take your item and we’re going to do the same thing again.
At this point you need to pay attention to the way up you have your cuffs if they have a directional print on them. You are going to sew in the cuff in what appears to be upside down. Once the cuff is sewn it then unfold out of the arm/leg changing the direction of the cuff. If you are unsure if you have it the right way you can clip it in and then gently check the direction by peeping inside the item.
To clip your cuff to the main fabric:
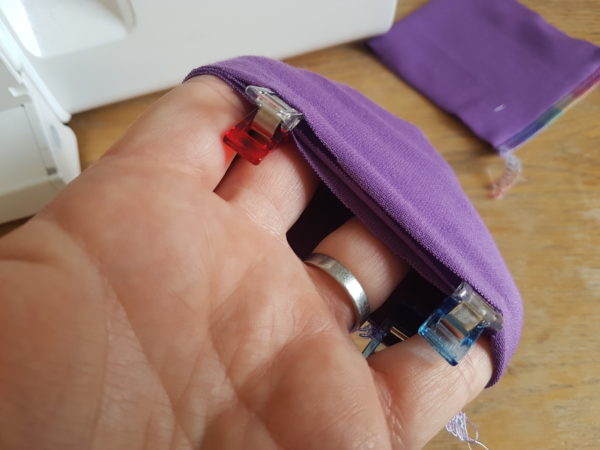
Find the four equal points of your sleeve or leg simply find the seam and mark it. Then do the same opposite, fold so the clips match and clip the 2 other edges. Be really careful about making sure the garment is split into four equal parts as it will cause problems with the distribution of the stretch further in the tutorial. The reason you’re doing it like this is because you want that cuff to stretch evenly throughout all of the fabric. If you don’t do it like this, you will end up stretching one part more than the other. And that’s when it will start looking wonky, you’ll run out of cuff or it won’t lay flat.
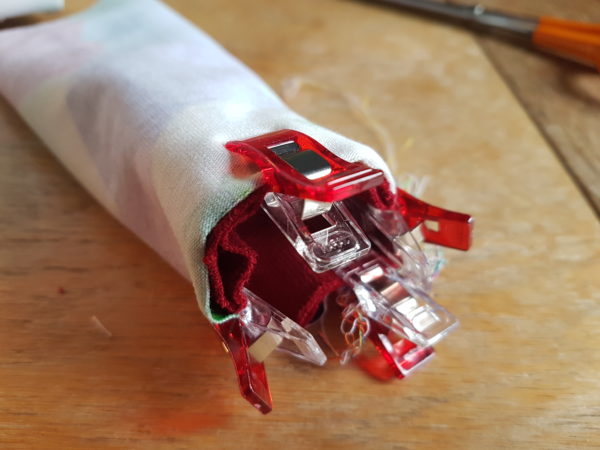
Now you need to match up the clips on your cuff with the clips on your garment, making sure the raw edges match. Combine all layers under one clip. Line up the seams on the cuff with the seams on your garment.
When you’re a beginner, some people suggest dividing it into eight and doing it that way just again so that you get a really even finish.
Now you have your cuff pinned, you’ll see that the cuff is shorter than the garment – how short depends on the garment you’re making, some sleeves are relaxed so won’t be as short – so as you are sewing you will want to stretch the cuff but not the garment – this is absolutely crucial otherwise you will overstretch the cuff and end up with a wobbly circle that wont sit flat.
You can sew your cuff on an overlocker or a sewing machine – use an overcast stitch, triple stretch or zig zag.
Practise on scraps first to ensure you’re completely comfortable before sewing for the first time on your garment.
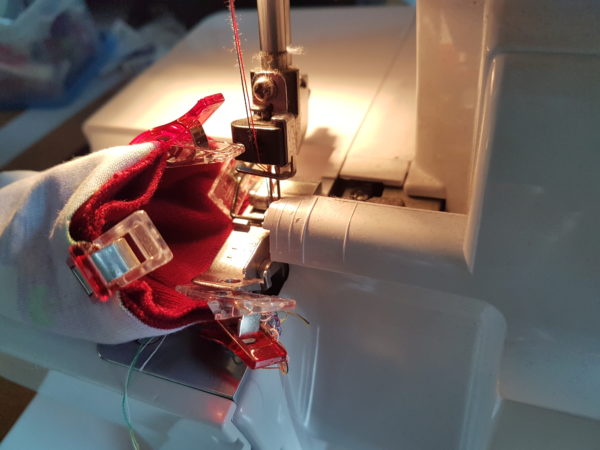
It’s really important that you put the cuff part that you want to stretch on the underneath and the garment on top. You can change the angle if you like as shown in the video below, some people may find different angles easier.
Ensure your needle is fully down and in when stretching the next step or you can bend or snap your needle, pull on the ribbing or jersey, which is the bit that’s allowed to stretch. And you know how far to pull by the amount that the ribbing needs to stretch between where you’ve started, and the next clip.
Begin sewing just before your seam clips as it will help keep the seams aligned.
Stretch the ribbing, and then just rest the garment on to the top so all the layers rest together and put your finger where the clip was so it holds the stretched ribbing and the garment together. As you’re sewing and the feed dogs bring the material through, you’re going to keep those two points together where the cuff is stretched, but the garment isn’t.
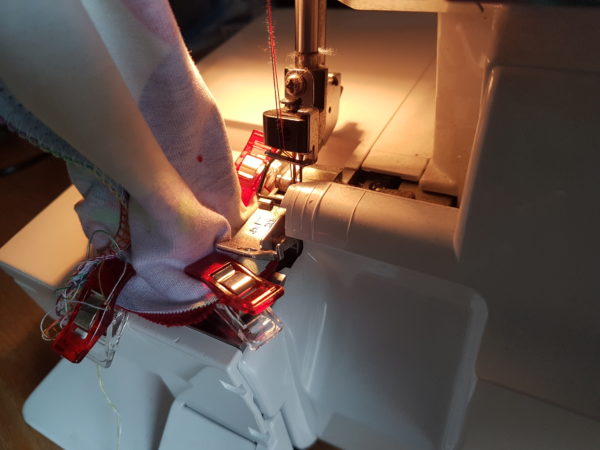
And as that goes under the foot, you’re then going to do the next bit of fabric, again use your bottom hand to stretch the cuff, while the top hand stabilizes the garment and keeps the two in the right place.
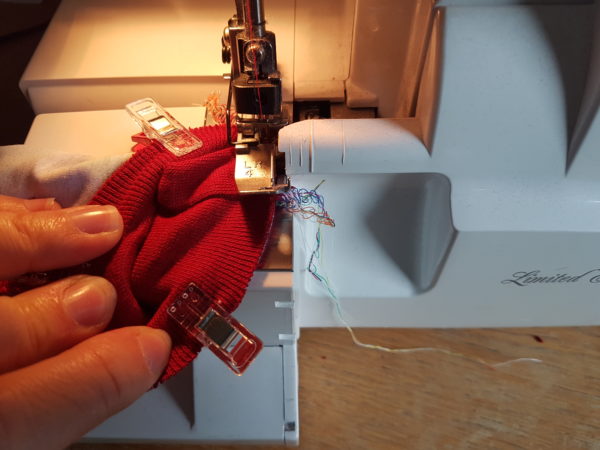
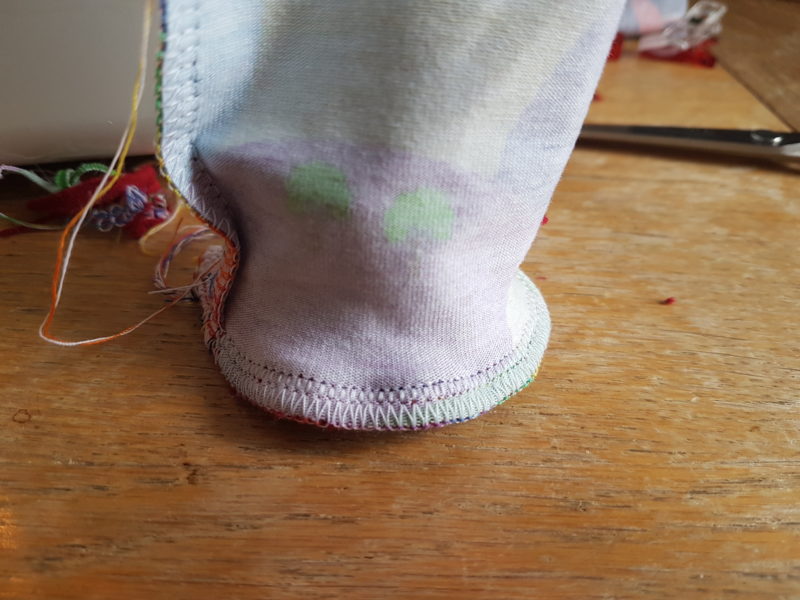
When making tiny cuffs, particularly ankle cuffs which are tighter some people prefer to sew their cuff the other way up on the machine. This is what it would look like. We don’t recommend it as it is harder to see the layers are all stretched correctly but some people do find it easier this way. If you are struggling you could try this way up with some scraps to find what suits you.
Keep going until you reach back to where you began and finish the seam.
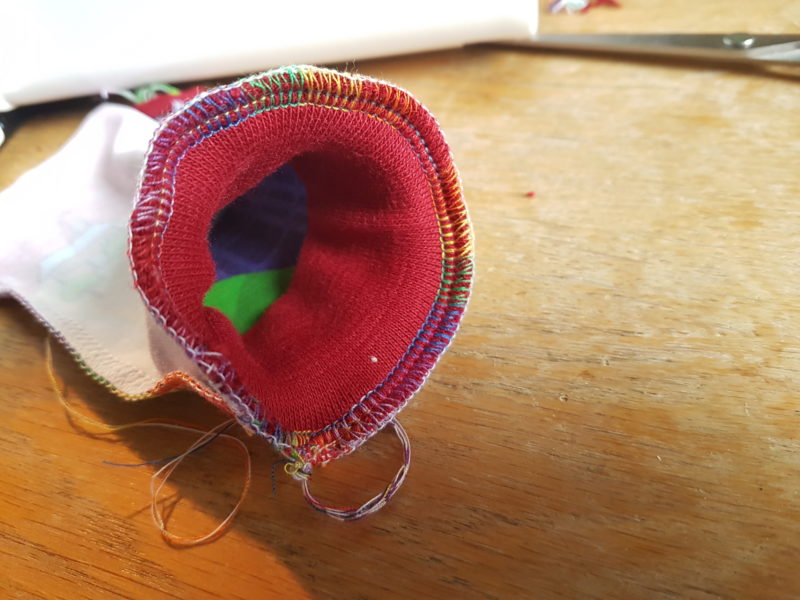
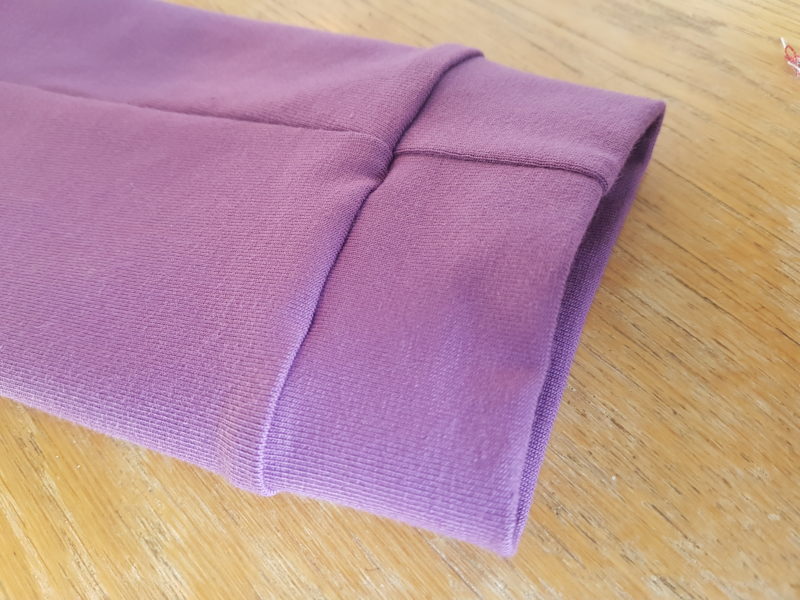
Once you’ve finished you can press the cuff to help any lines or puckers. If you are happy as it is then no pressing is required.
Remember, perseverance and practise makes perfect!
Don’t forget to share your cuffs (and other sewing!) in our Facebook group.
Happy Sewing